
Well about 11/2 years ago I bought a MK2 8v gti drove it for a few weeks and then parked it up for a while,
But I always wanted a real nice MK2 16v so I am building it exactley the way I want it LOL
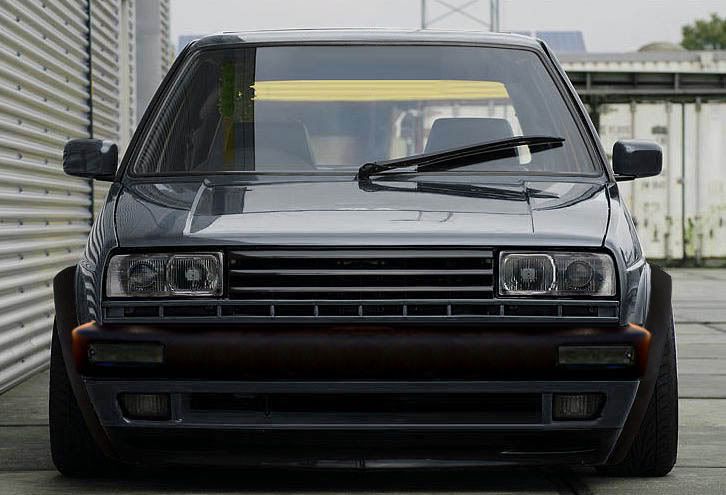
So to cut a long story short Its getting treated to some top notch parts in the coming months
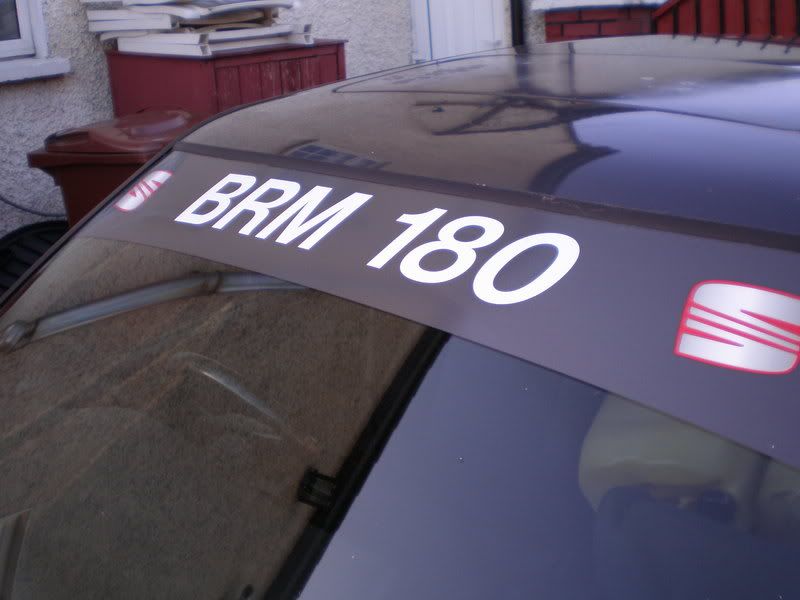
I accquired a Seat toledo that had been treated to a BRM 180 bhp conversion the car was owned by Seat UK at the start of its life,
It was used as a Demo car for the 180 BRM conversion by Seat and BRM and I have a mag feature of this car from way back when they started doing them
![Image]()
![Image]()
![Image]()
The direction I am planning to go with this project is OEM+
It has a 9a bottom end and 9a head and schrick cams I plan to scrap the k jet management and run the Valver
And widetrack with a 5 x 100 pcd from a VR6 golf and to bring it upto a 90 spec car wiring fusebox and Mk3 VR6 ABS
What I have for it already
Golf Rallye grill kit
Electric recaro interior from an Edition One Golf 16V
Brand new front and rear bumpers genuine
Brand new golf G60 wings and wing liners
Brand new G60 arch kit with sill extensions (missing door trims)
Brand new genuine battery tray repair panel
Brand new full set of OEM green tinted glass
Brand new VR6 hard fuel lines
Power heated mirrors
Power windows
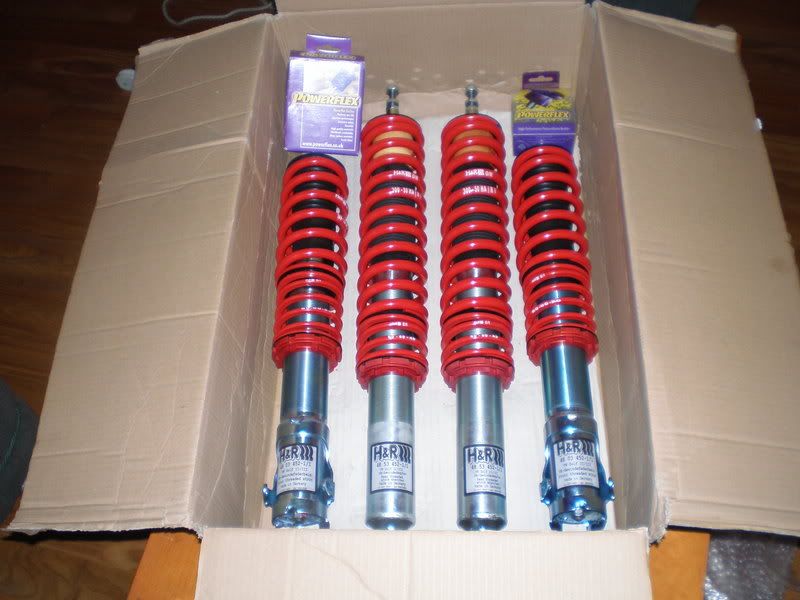
H&R monotube coilovers
H&R Mk3 VR6 25mm antiroll bars front and rear
Eibach front upper strut brace
ARP head main and rod stud kit
Schrick sump and windage tray
Schrick adjustable cam pulley
Schrick 260 cams and followers
Schrick valves and retainers with HD valve springs
Vibratechnics fast road mounts x 3
Vibratechnics front wb rear bush and rear axle bushes
034 motorsport stage 1c 16v management package
50hp shot of nitrous and take it from there
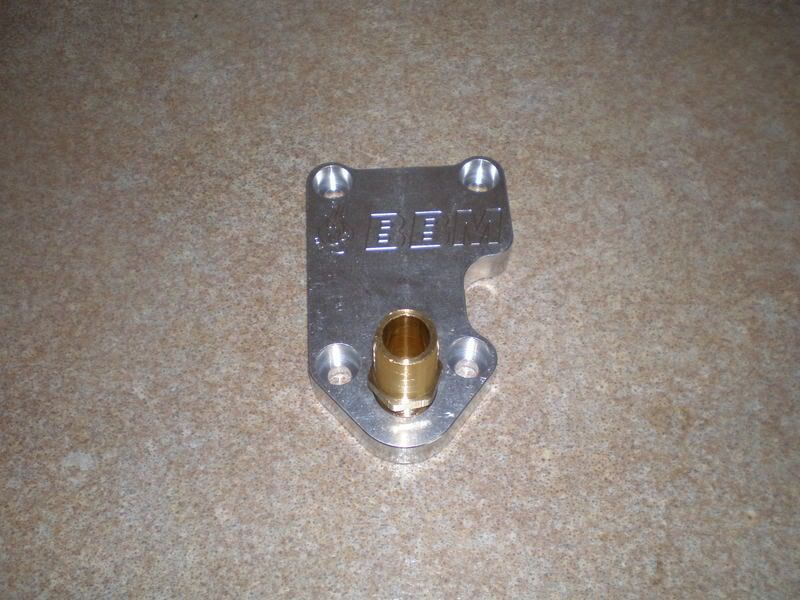
BBM front engine breather plate
BBM Mk3/4 style FPR holder and 4 bar reg
BBM Mk2 16v efi fuel rail kit
255cc's injectors designed for multi valve heads (standard ABF size)
Digifant injector seats
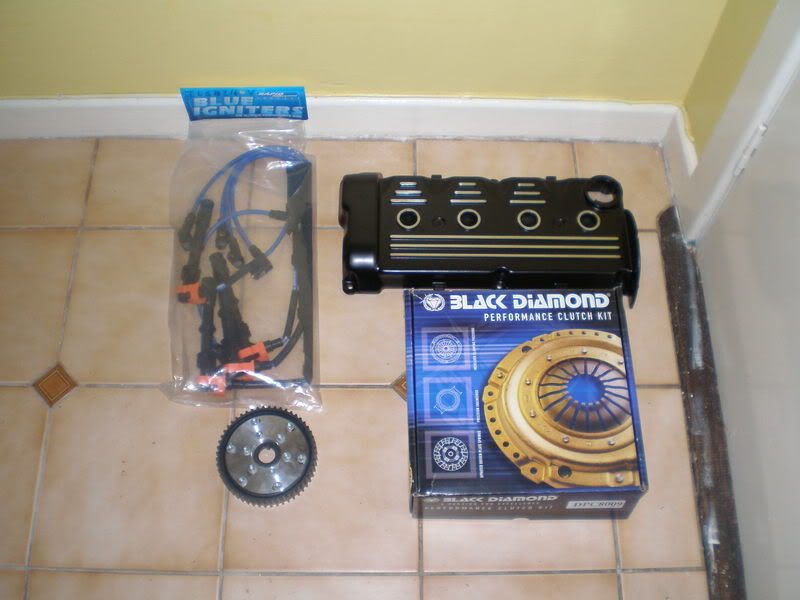
Black diamond fast road clutch kit
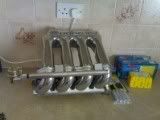
50 mm inlet manifold polished
Black diamond 288mm front and standard mk3 rear crossdrilled and grooved discs with predator pads
Mk3 VR6 ABS will be retro fitted
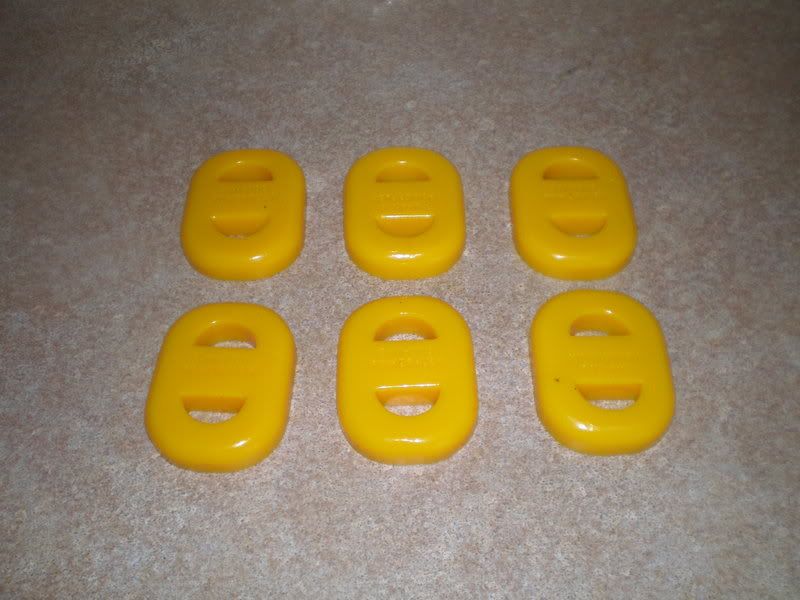
Full powerflex bushes including exhaust rubber mounts (figure 8 shape)
Milltek 4 branch stainless steel manifold
Milltek stainless steel exhaust
Metal gear selector rods with metal ends
Trimsport powdercoated black rocker cover
New genuine Oil pump, Water pump, ABF Metal head gasket, Rings, front and rear crankshaft seals,
1.8T crank and rod shells and genuine water flanges and full gasket set
Valve stem oilseals, Timing chain, Belt and tensioner and Lower temp thermostat and fan switch
Not sure what wheels now but something 8x16 all round maybe porsche design 90's
And a set of BBS RS 16" porsche fitment 8" x 16" for now
New set of German style plates
Beetle rocker cover breather
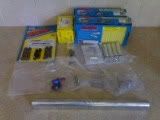
There is more but just cant think what else i have here packed away
![Image]()
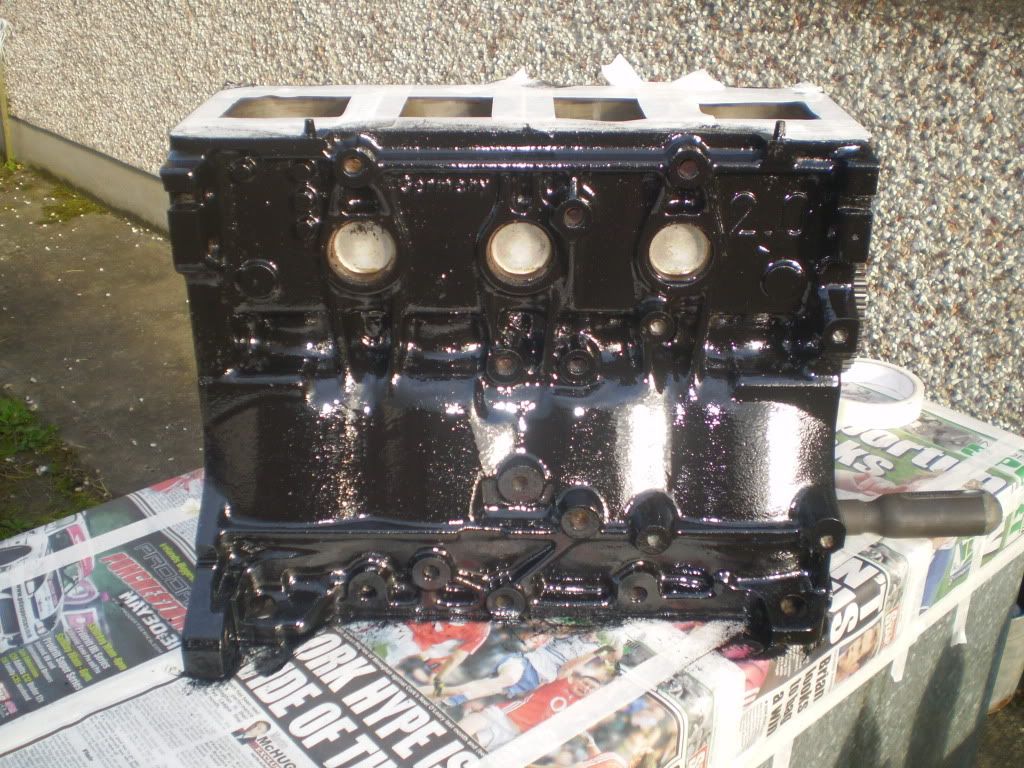
The engine will be getting a full rebuild over the next few weeks/months
And the gearbox will be sent in to check the quaife diff bearings syncros and just a general check up
And fitting a VR6 fuel tank with a sytec/walbro upgraded fuel pump to increase pressure
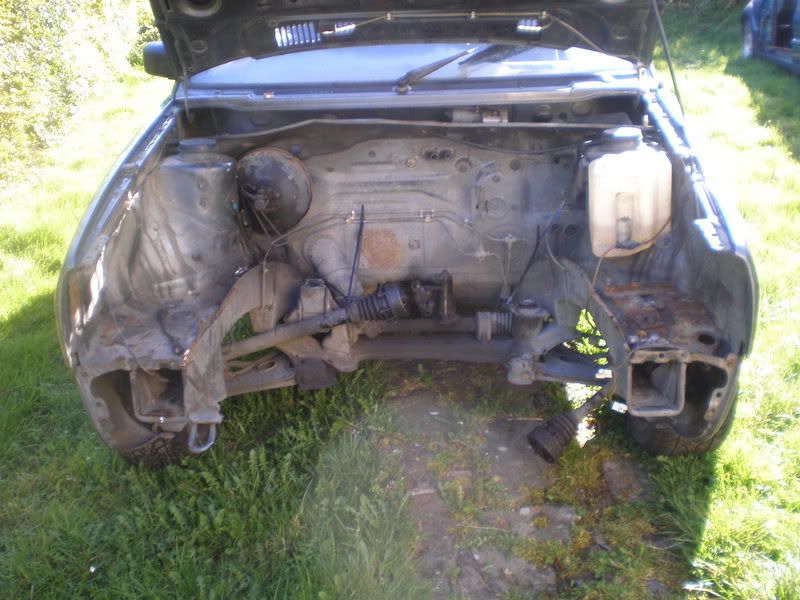
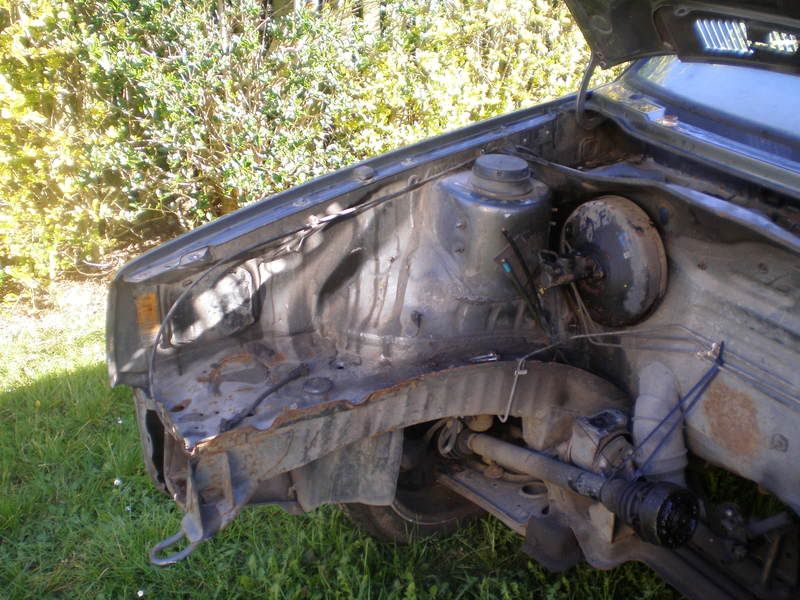
Subframe, Rear axle, Wishbones and Front cross member will be getting bead blasted and powdercoated
![Image]()
![Image]()
![Image]()
![Image]()
![Image]()
![Image]()
And this is a photochopped image of how it will all look at the end Fingers crossed
![Image]()
*** list updated 30/1/2009***
But I always wanted a real nice MK2 16v so I am building it exactley the way I want it LOL
So to cut a long story short Its getting treated to some top notch parts in the coming months
I accquired a Seat toledo that had been treated to a BRM 180 bhp conversion the car was owned by Seat UK at the start of its life,
It was used as a Demo car for the 180 BRM conversion by Seat and BRM and I have a mag feature of this car from way back when they started doing them
The direction I am planning to go with this project is OEM+
It has a 9a bottom end and 9a head and schrick cams I plan to scrap the k jet management and run the Valver
And widetrack with a 5 x 100 pcd from a VR6 golf and to bring it upto a 90 spec car wiring fusebox and Mk3 VR6 ABS
What I have for it already
Golf Rallye grill kit
Electric recaro interior from an Edition One Golf 16V
Brand new front and rear bumpers genuine
Brand new golf G60 wings and wing liners
Brand new G60 arch kit with sill extensions (missing door trims)
Brand new genuine battery tray repair panel
Brand new full set of OEM green tinted glass
Brand new VR6 hard fuel lines
Power heated mirrors
Power windows
H&R monotube coilovers
H&R Mk3 VR6 25mm antiroll bars front and rear
Eibach front upper strut brace
ARP head main and rod stud kit
Schrick sump and windage tray
Schrick adjustable cam pulley
Schrick 260 cams and followers
Schrick valves and retainers with HD valve springs
Vibratechnics fast road mounts x 3
Vibratechnics front wb rear bush and rear axle bushes
034 motorsport stage 1c 16v management package
50hp shot of nitrous and take it from there
BBM front engine breather plate
BBM Mk3/4 style FPR holder and 4 bar reg
BBM Mk2 16v efi fuel rail kit
255cc's injectors designed for multi valve heads (standard ABF size)
Digifant injector seats
Black diamond fast road clutch kit
50 mm inlet manifold polished
Black diamond 288mm front and standard mk3 rear crossdrilled and grooved discs with predator pads
Mk3 VR6 ABS will be retro fitted
Full powerflex bushes including exhaust rubber mounts (figure 8 shape)
Milltek 4 branch stainless steel manifold
Milltek stainless steel exhaust
Metal gear selector rods with metal ends
Trimsport powdercoated black rocker cover
New genuine Oil pump, Water pump, ABF Metal head gasket, Rings, front and rear crankshaft seals,
1.8T crank and rod shells and genuine water flanges and full gasket set
Valve stem oilseals, Timing chain, Belt and tensioner and Lower temp thermostat and fan switch
Not sure what wheels now but something 8x16 all round maybe porsche design 90's
And a set of BBS RS 16" porsche fitment 8" x 16" for now
New set of German style plates
Beetle rocker cover breather
There is more but just cant think what else i have here packed away

The engine will be getting a full rebuild over the next few weeks/months
And the gearbox will be sent in to check the quaife diff bearings syncros and just a general check up
And fitting a VR6 fuel tank with a sytec/walbro upgraded fuel pump to increase pressure
Subframe, Rear axle, Wishbones and Front cross member will be getting bead blasted and powdercoated
And this is a photochopped image of how it will all look at the end Fingers crossed
*** list updated 30/1/2009***